Wednesday, September 23, 2015

Make, Don't Take (Out)


Easy, Healthy Orange Chicken Recipe (That’s just as good as take out!)

  Whether you were full of elation or sorrow for it, the back to school season means no more easy BBQ dinners and lazy summer evenings. It means long days, back to work, homework, and rushed meals. For many family members this is also the time to become a personal taxi service from school to sports to dance to home. 

  On our journey to healthier eating, my daughters (I call them the Divas) and I are trying to get away from take out and get back to homemade meals. The kind of meals that we can make together while using simple ingredients and creating fabulous flavours. So, on those busy weeknights filled with extracurricular activities, I prefer cooking comfort foods that are easy to make and healthy.
 
  One of the best websites for quick meals that are family friendly is kraftrecipes.com. I don't know a lot of people that don’t have something from Kraft in their cupboards. While I prefer to try to make my own sauces and dressings, the reality is, every once in a while I need help from a bottle when we have a busy night.

  We came across this Orange Chicken recipe (and gave it a few small tweaks). Since the Divas enjoy Chinese Food, we decided to give it a try. It has an abundance of peppers which are excellent sources of Vitamin A and C, folic acid, potassium, and fibre. This was fast and easy to make and according to the Divas it was better than anything we have ever ordered in.


Ingredients:
1/4 cup KRAFT Asian Sesame Dressing
Zest and 1/2 cup juice from 1 orange
2 Tbsp. Honey
2 tsp. minced gingerroot
1/8 tsp. crushed red pepper
1 Tbsp. Oil
1 lb. boneless skinless chicken breasts, cut into 1-inch pieces
1 each orange, red and yellow pepper, cut into 1-inch pieces    
2 green onions thinly sliced

Mix dressing, orange zest, juice, honey, ginger and crushed pepper until blended. (This dressing is out of this world! Combined with the orange juice and the honey this makes a great dressing for stir fry or salads or even as a marinade for grilled chicken.)


What is this zest thing you speak of?  There are some great gizmos out there for the kitchen. I know because as my husband will tell you, I have drawers full of them. I may have an addiction BUT in a pinch I always have the thingamajig that some recipe calls for!  


These are two zesters that I have in my junk handy culinary drawer. The smaller one is a zester I got at IKEA that you use similar to a vegetable peeler and just pull down across the skin or rind of the fruit.  The second and larger one on the right is a Micro plane Grater/Zester I got from President's Choice. This one is my favourite as it works well on fruit, fresh parmesan, chocolate or nutmeg.  If you have not tried using citrus zest, add it to your grilled vegetables, meats and seafood and even in your baking.


Heat the oil in large skillet on medium-high heat. Add chicken and peppers and cook 5 to 6 minutes or until chicken is done and peppers are crisp-tender, stirring frequently. Remove chicken mixture from skillet and cover to keep warm.


The Divas love peppers and I think the reason is we introduced them in small bites. I do a julienne type of cut meaning short and narrow. They can get the taste of the pepper without being overwhelmed. Some people like to do chunks but when starting off a vegetable with children go small or go home. This is now a favourite raw snack around here and the girls have been known to swipe my premeasured pepper for a recipe off my cutting board when my back is turned.


Add dressing mixture to the skillet and cook and stir for 3 to 4 minutes or until thickened.


Add the chicken mixture back to the pan and stir well to combine with the sauce. Cook until mixture is heated through. Spoon the chicken and peppers into bowls and top with green onions


We always serve this in a bowl on top of jasmine or basmati rice.  You can find instant packages of either made by Uncle Ben's in your grocery stores that are ready in 90 seconds in the microwave.
 
  Not the family to just settle for ordinary, we like to top our dinner off with extra green onions, fresh cilantro and toasted cashews, almonds or sesame seeds.  (Be aware of nut allergies if making this for company so we can keep our children and family safe.)

For Mad Dad Duncan and me, we finish it off with a drizzle of Siracha sauce to make the heat of the kitchen seem secondary to the heat of the dish.


Get some chopsticks and enjoy your "take out" at home and tip yourself instead of the delivery person!
 
Bon Appétit!


    Thursday, July 3, 2014

    Make it Martha, Meatless and Mexican!

      Meatless Mondays are a new trend these days with people trying to cut down their intake of red meat.  Beans are a new favourite for people looking for a vegetarian or vegan dish that is a little more exciting than chewing on a lettuce leaf!

     We are also using our summer vacation to try and unplug a bit more from the world and do more things with the Divas. Both of them love to help in the kitchen so I enlisted the eldest Diva to get in here and give me a hand with a favorite meal of ours.

     This dish is a layered casserole, incorporating tortillas, black beans, mushrooms, salsa and cheese. My fellow carnivores might love a T-Bone but this recipe has been a hit with all I have made it for. It is from Martha Stewarts' website and has become a staple in our house. It is a great recipe to make ahead and freeze, or is delicious when cooked and refrigerated or frozen and reheated. You can adjust the spice level if you like depending on the amount of cayenne and which salsa you use. There are a variety of amazing flavoured salsas available in the supermarkets these days with a wide range of ingredients. We tried it with a Mango and Chipotle and had an amazing dish! Get creative and you can make a different version of this every week.


    • 2 teaspoons extra-virgin olive oil      
    • 3/4 pound Cremini or button mushrooms, trimmed and quartered      
    • 1 garlic clove, minced      
    • 1/4 teaspoon cayenne pepper      
    • Coarse salt and ground pepper      
    • 1 can (15.5 ounces) black beans, rinsed and drained      
    • 6 corn tortillas, warmed and halved      
    • 2 cups salsa      
    • 1 1/4 cups shredded cheese blend (4 ounces)
     
    Preheat oven to 400 degrees.
    In a large skillet, heat oil over medium-high. Add mushrooms and cook, stirring often, until browned, 7 minutes.


     Add garlic and cayenne; season with salt and pepper.
     
     
    This is a GREAT garlic press you can find at Ikea. It works really well and does not crack like many of my previous styles. The recipe calls for one clove of garlic, but in this house we never use just one. You can adjust your heat level with the cayenne and also add a bit of Chili Powder or Chipotle Powder.  Live a little!
     
    Add black beans and stir to combine. Most of the black beans in a can in our grocery stores are 19oz. I use that size and once they are drained they are close to the amount the recipe calls for. If you prefer less keep some aside and make a taco salad or a Mexican stuffed baked potato for lunch the next day.
     
     
    Cook until beans are warmed through, 2 minutes. Remove from heat
     
     A product I have found to be a favourite is Dempsters Corn Tortillas which you can find in the bakery in most grocery stores. If you do not like the corn you can also use whole wheat or white tortillas. I  like the corn tortillas to make a gluten free version.
     
     
    Arrange tortillas in a 2-quart baking dish.  The original recipe called for 8 tortillas. The Dempsters come six to a package and we find this the perfect amount. We also quarter the tortillas to make it easier to layer the pan.


    Top with half the bean mixture and 1/2 cup salsa, then sprinkle with one-third the cheese.
     
     
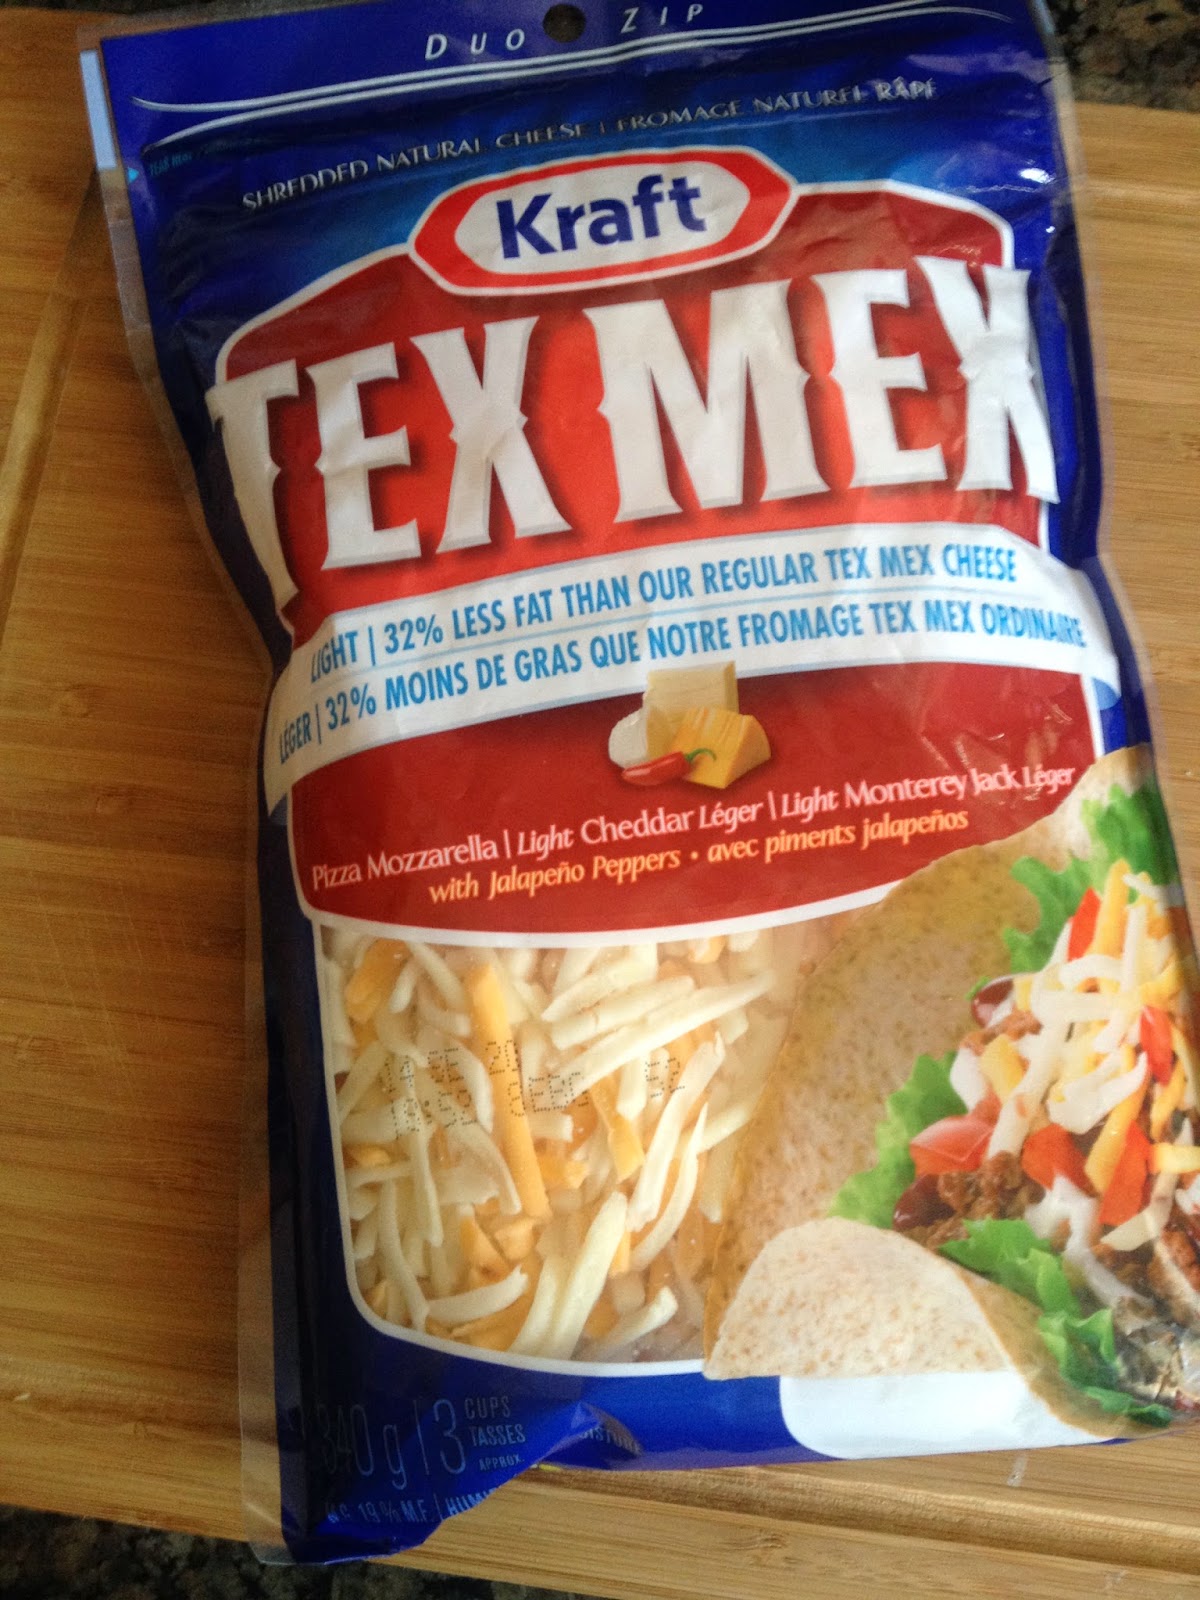
    This is our favorite shredded blend to use. It is a lighter version of Tex Mex and contains Mozzarella, Light Cheddar and Light Monterey Jack for a bit of a kick. To make it a vegan dish you can use Daiya or any vegan cheese you prefer.


      Repeat with another layer of tortilla halves, bean mixture, salsa, and cheese. Top with remaining tortillas, salsa, and cheese.

     
    Cover with foil and bake until center is hot and cheese melts, 10 minutes. Uncover and bake until cheese is bubbling, 5-10 minutes. Make sure Mom or Dad take this one out of the oven as it is a heavy dish! Cute Diva!

     
    Let sit and rest for 10 minutes and then use a sharp knife to cut into squares. We enjoy topping ours with a bit of fresh cilantro and a dab of light sour cream.
     
     
    Grab a Corona or whip yourself up a margarita if you are dining on this on the weekend, and enjoy a bit of the great Mexican flavours in this easy to prepare and amazing to eat casserole!
     
     
    Ole!!


    Tuesday, June 17, 2014

    Patellxhan Parmesan?

    Also known as  Badanekayi, Vangakaya, Vaṟutina, Aubergine, Melongene, Garden Egg, or Guinea Squash.or Brinjal. WHAT is this food you ask? Well the Italians have mastered the art of cooking and it is also a popular item in Greek cuisine. Here is a clue!


    Introducing the eggplant. Wikipedia describes it as "The raw fruit can have a somewhat bitter taste, but becomes tender when cooked and develops a rich, complex flavor. Many recipes advise salting, rinsing and draining of the sliced fruit (known as "degorging"), to soften it and to reduce the amount of fat absorbed during cooking, but mainly to remove the bitterness of the earlier cultivars. Some modern varieties - including large, purple varieties commonly imported into western Europe - do not need this treatment."
     
    Since I have eliminated meats from my diet I find myself craving spices, herbs, and flavor! Italian cuisine has always been a favorite and I am continuing to enjoy it after going gluten free with a few adjustments.  Eggplant Parmesan is one of the dishes I have been able to pick up and enjoy so this was next on the list to attempt!
    Typically the eggplant is breaded and fried, however this version is baked making it a much healthier version.
    The Divas did look a bit skeptical but after a few minutes in the oven, and some amazing aromas, I had two very willing guinea pigs!
      It made a huge pan so some is going in the freezer for one of our harried nights. The rest, Dad and I are looking forward to trying shortly with a nice glass of Merlot!

    Ingredients:
    • Olive Oil for baking sheets
    • 2 large eggs
    • 3/4 cup plain dry breadcrumbs
    • 3/4 cup finely grated Parmesan, plus 2 tablespoons for topping
    • 1 teaspoon dried oregano
    • 1/2 teaspoon dried basil
    • Coarse salt and ground pepper
    • 2 large eggplants (2 1/2 pounds total), peeled and sliced into 1/2-inch rounds
    • 6 cups (48 ounces) store-bought or tomato sauce
    • 1 1/2 cups shredded mozzarella
     
     
    Directions:
     
     
    Preheat oven to 375 degrees. Brush 2 baking sheets with oil; set aside.


    In a wide, shallow bowl, whisk together eggs and 2 tablespoons water.


    In another bowl, combine breadcrumbs, 3/4 cup Parmesan, oregano, and basil, season with salt and pepper.


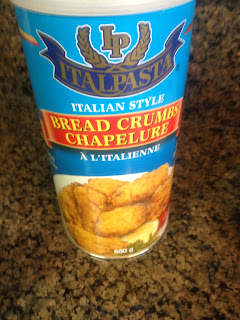
    These are a favorite brand of bread crumbs that we use. You can find these in the bread section at your local grocery store. I still cook with them if having a minimal amount, after choosing to go gluten free.  For those that MUST go gluten free you can you use your favorite GF product and substitute for the regular bread crumbs. I would suggest enhancing the flavour with some extra Italian seasoning.


    Dip eggplant slices in egg mixture, letting excess drip off.


    Dredge in breadcrumb mixture, coating well.


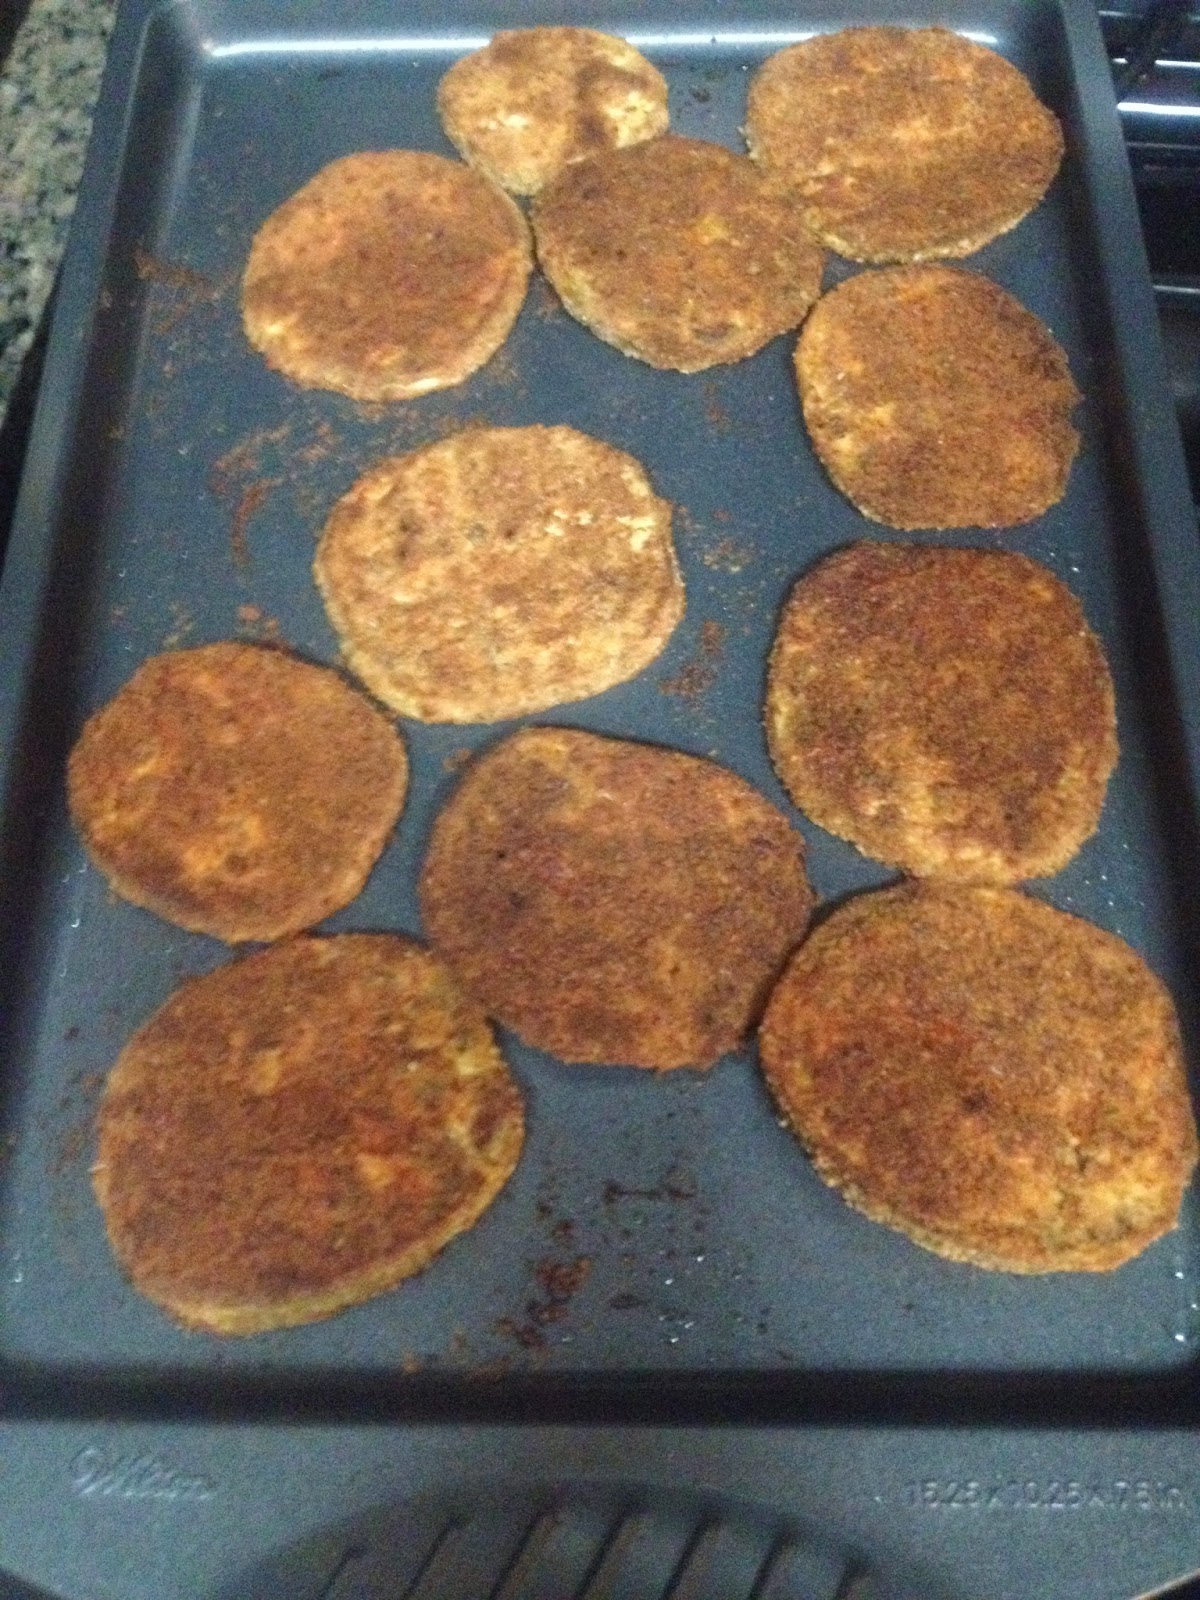
     Place on baking sheets. Bake until golden brown on bottom, 20 to 25 minutes.


     Turn slices; continue baking until browned on other side, 20 to 25 minutes more. Remove from oven; raise oven heat to 400 degrees.


    Spread 1 cups sauce in a 9-by-13-inch baking dish. Arrange half the eggplant in dish; cover with 2 cups sauce, then 1/2 cup mozzarella.


    Repeat with remaining eggplant, sauce, and mozzarella; sprinkle with remaining 2 tablespoons Parmesan.
      I suggest using a good mozzarella, not just your average block cheese. If you want to lighten up the calories then adjust the amount of cheese according.

    This recipe calls for 6 cups of tomato sauce. I found this a bit too much so you may wish to adjust the amount according to your preferences. An absolute staple in our home is this sauce that I purchase at Costco.
     
     
    Bake until sauce is bubbling and cheese is melted, 15 to 20 minutes.


     Let stand 5 minutes before serving. Just enough time to pour yourself a glass of wine and toss a salad.
     
     
    This is a great dish to prepare until the baking stage and freeze. Either thaw it before baking or add some extra cooking time if cooking from frozen. Great foil containers and lids are now available at the dollar and grocery stores. Just remember to label your items and the cooking instructions.
     
    Bon Appetit!!


    Tuesday, December 10, 2013

    Stuff It!

      I do mean stuff it, peppers that is. This is the time of year when schedules seem to be especially frantic and people frazzled. From holiday preparations to Christmas parties, shopping and school concerts, it seems we are running in and out of a revolving door.
      This is a recipe that I found on Pinterest that is very quick to throw together, uses ingredients we always have on hand and is also something you can prepare ahead of time to make the evening rush less hectic You can also double the recipe and freeze the meat mixture to thaw at a later time and stuff  fresh peppers.
      I usually use ground turkey for any of our meat recipes but after whipping up some meatballs ,I had some ground beef left to use up. The Divas did not notice at all so you can use either.  Depending on the size of the peppers used we sometimes have leftovers which are used in a wrap for a lunch for the Divas. You are providing protein, vegetable, grains and some dairy, so it is a complete meal and fills those tired tummies on a cold night. 

    Ingredients:

  • 1 lb lean ground beef OR turkey
  • 2 cloves garlic, minced
  • 1/4 white onion, minced
  • 1 tbsp chopped fresh cilantro or parsley
  • 1 tsp garlic powder
  • 1 tsp cumin powder
  • Salt and pepper to taste
  • 3 large sweet peppers, washed
  • 1 cup low sodium chicken broth
  • 1/4 cup tomato sauce
  • 1 1/2 cups cooked rice
  • Olive oil spray
  • 1/4 cup reduced fat shredded cheese

  •  
    Directions:
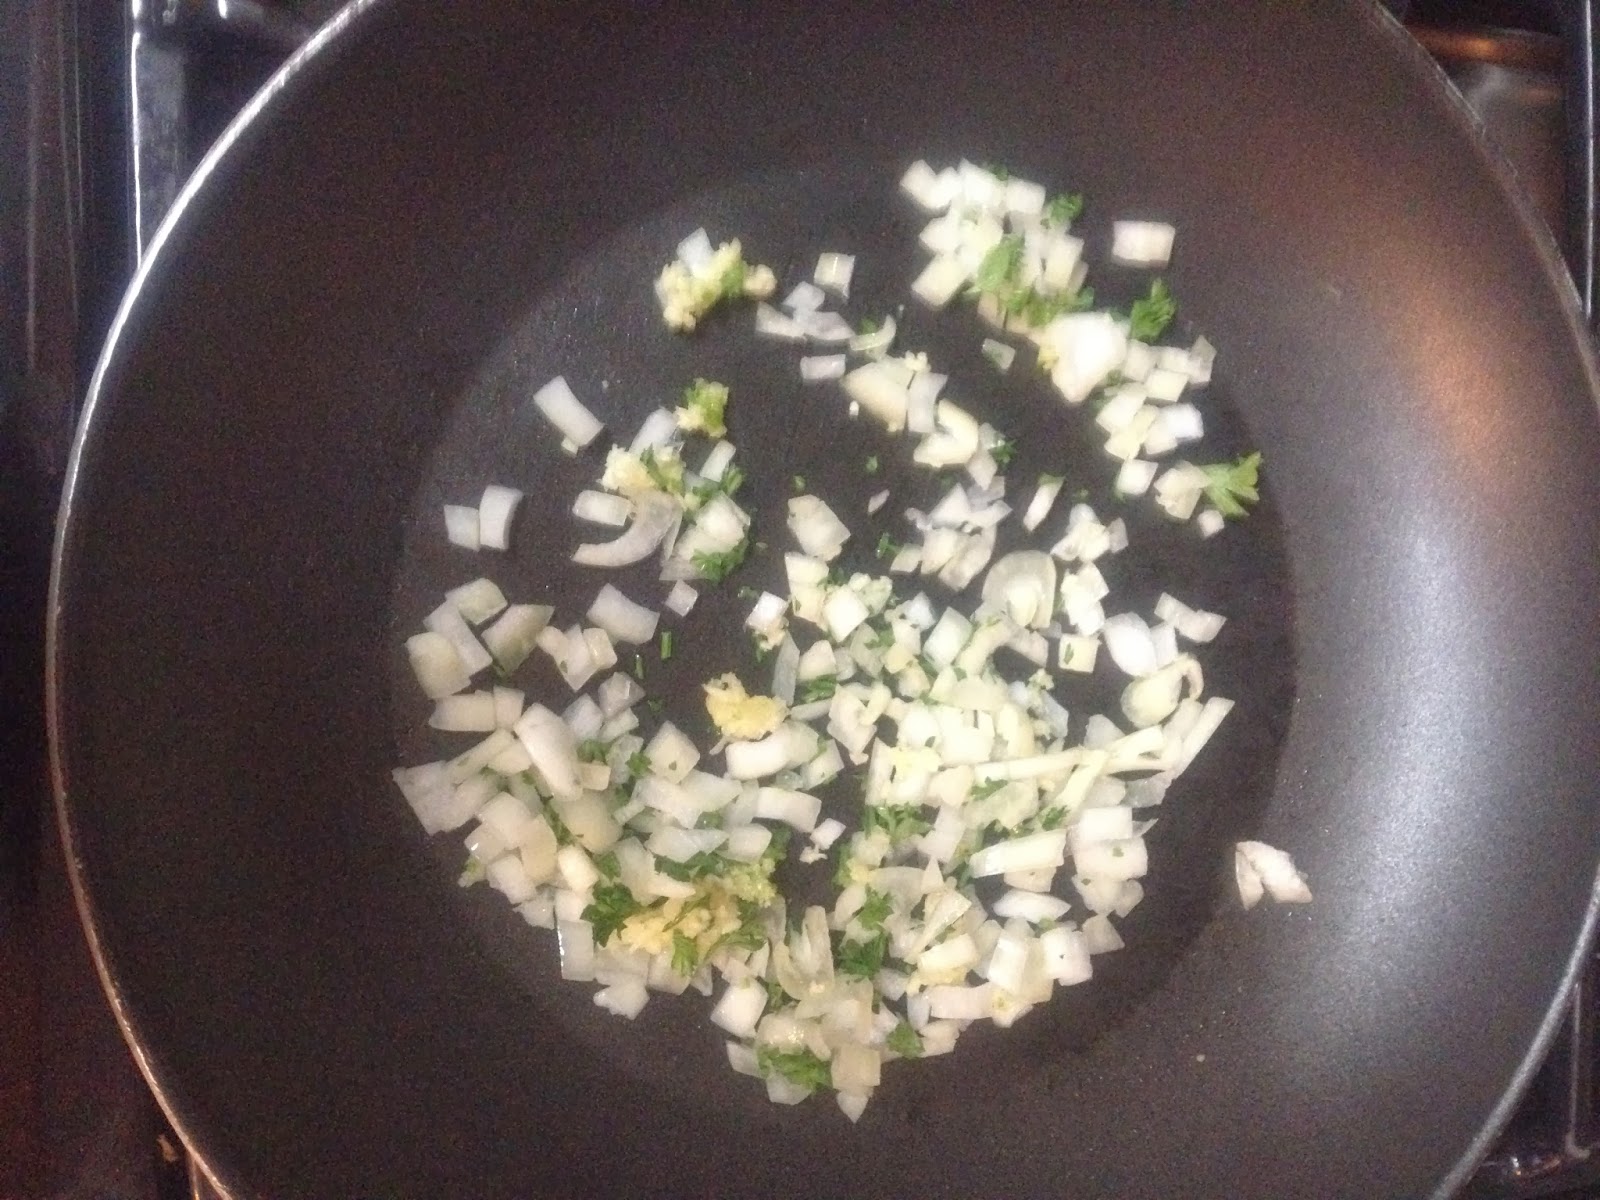
      Heat oven to 400°. Spray a little olive oil spray in a medium size saute pan and heat on a medium flame. Add onion, garlic and cilantro to the pan.


      As much as I love chopping and prepping, I am not a fan of the lingering garlic odour on my fingers.  After trying a few garlic presses I found a great and sturdy one at Ikea that is easy to use and easy to clean.


      Saute about 2 minutes and add ground turkey.


      Season with salt and garlic powder, and cumin and brown meat for several minutes until meat is completely cooked through.

      Add 1/4 cup of tomato sauce and 1/2 cup of chicken broth, mix well and simmer on low for about 5 minutes.


      This chicken broth is sold at Costco and is the Home Goodness brand. Organic and a case of six is less than $8.00.


      I also have a favorite tomato sauce I buy at Costco as well. The Simply Natural brand is also organic and has incredible flavor. This is delicious on pastas and for making homemade pizzas. Now all you have to do is STICK TO YOUR LIST and avoid all aisles that you don't need items from. Challenge your self to see if you can make it in and out of Costco without  breaking the bank.


      Combine cooked rice and meat together.


      Another time saving tips is to use Uncle Ben's Whole Grain Brown Rice as shown here. Amazingly I did NOT buy this at Costco, and it can be found in all grocery store. You mix water and rice and have to option of adding butter. Boil, simmer and let sit and your rice is done in 10 minutes. I always make extra and use in a fried rice stir fry for the Divas for lunch.
      Cut the bell peppers in half lengthwise, and remove all seeds.


       Place in a baking dish. Spoon the meat mixture into each pepper half and fill it with as much as you can. Place all stuffed pepper halves on the baking dish and pour the remainder of the chicken broth on the bottom of the pan. Cover tight with aluminum foil and bake for about 35 minutes.


       Top with shredded cheddar cheese and bake another 5 minutes until cheese melts.  The Divas like this with a small salad and they both usually eat a whole pepper!


      My carnivore companions know that my dinner is a vegetarian option. I mix black beans with the extra rice, tomato sauce, season with cumin and garlic and substitute vegetable broth.
      Either version is quick, healthy and delicious.
       
       
      Bon Appetit!


    Thursday, December 5, 2013

    Savoury Sausage and White Bean Tuscan Stoup!

      Not to be limited to one kind of soup, we are moving from Thailand to Tuscany! I find I am always worried that the Divas are not having a hot lunch when we face a crisp fall and then a frigid winter. I also like to ensure they are having enough protein to keep their brains fueled for school and acitivities.
      This is a recipe I found on Pinterest (#addict) for a soup/stew that has been a HUGE hit with the Divas. It freezes well and is a favorite in a thermos for lunch. We also have this as a staple meal for the activity nights so it can be quickly warmed and provides a quick and easy dinner. Being a vegetarian I don't eat this myself but I have made it with out the sausage and it tastes great. I also use gluten free pasta but feel free to walk on the wild side with the regular kind!
     The Divas are not big fans of spice (#flavor) so I buy the large mild Italian Sausage and usually use 3-4. Parmesan cheese is a must and if you can splurge use the freshly grated when serving or reheating. If all else fails the cheese powder in a can will do and it's fun for the kids to sprinkle "snow" on their stoup!


    Ingredients:

    1 lb sweet Italian sausage
    2 carrots, peeled and chopped
    ½ onion, diced
    3-4 cloves garlic, minced
    4 cups low sodium chicken broth
    1 can (15 oz) diced tomatoes with garlic and olive oil (I use Aylmer Accents)
    1 can (15 oz) cannellini beans
    1 tbsp dried basil
    ½ tsp salt
    ½ tsp pepper
    ½ lb shell pasta
    1 handful fresh baby spinach leaves, thinly sliced
    Freshly grated parmesan cheese


    Directions:
     
     In a large soup pot brown sausage, over medium heat.


    Reduce heat to medium and add carrots, garlic and onion. 


    Saute for approximately 7 minutes, until vegetables are tender.  Add diced tomatoes, chicken broth and beans.


     Stir in dried basil, salt and pepper.  Bring to a boil. Stir in pasta, cover and simmer 7-8 minutes until pasta is cooked.


     Remove from heat and stir in spinach until just wilted.


    Top with freshly grated parmesan and some sliced baguette


    Warm your tummies and warm your heart!
     
    Bon Appetit!


    Hot and Sour Sass!

    It happened.. October became November, November became December.  I think I am aging as I always feel cold. I'm afraid I may turn into Jerry Seinfeld's parents and feel a constant need to have the heat or air conditioning on. I need to have my hot flashes from October to March I think!
     I LOVE hot and sour soup. I have found two great restaurants in Burlington that make a vegetarian version but a large container is usually about $10. After some scouring on Pinterest and cooking and sampling I found the recipe that is the closest to the flavours I crave on a damp cold day.  The grocery stores now all have ethnic sections so it is easy to find the items needed on your regular grocery run. This soup tastes great the day it is made as well as reheated. I have also frozen it but most times at the Duncan casa there is not enough left to freeze. I would suggest making a double batch if you want some to eat and some to keep.  You can adjust the sour and heat to your liking.. here in this house.. some like it HOT!


    4.
    Ingredients:
     
    1 1/4 cups water
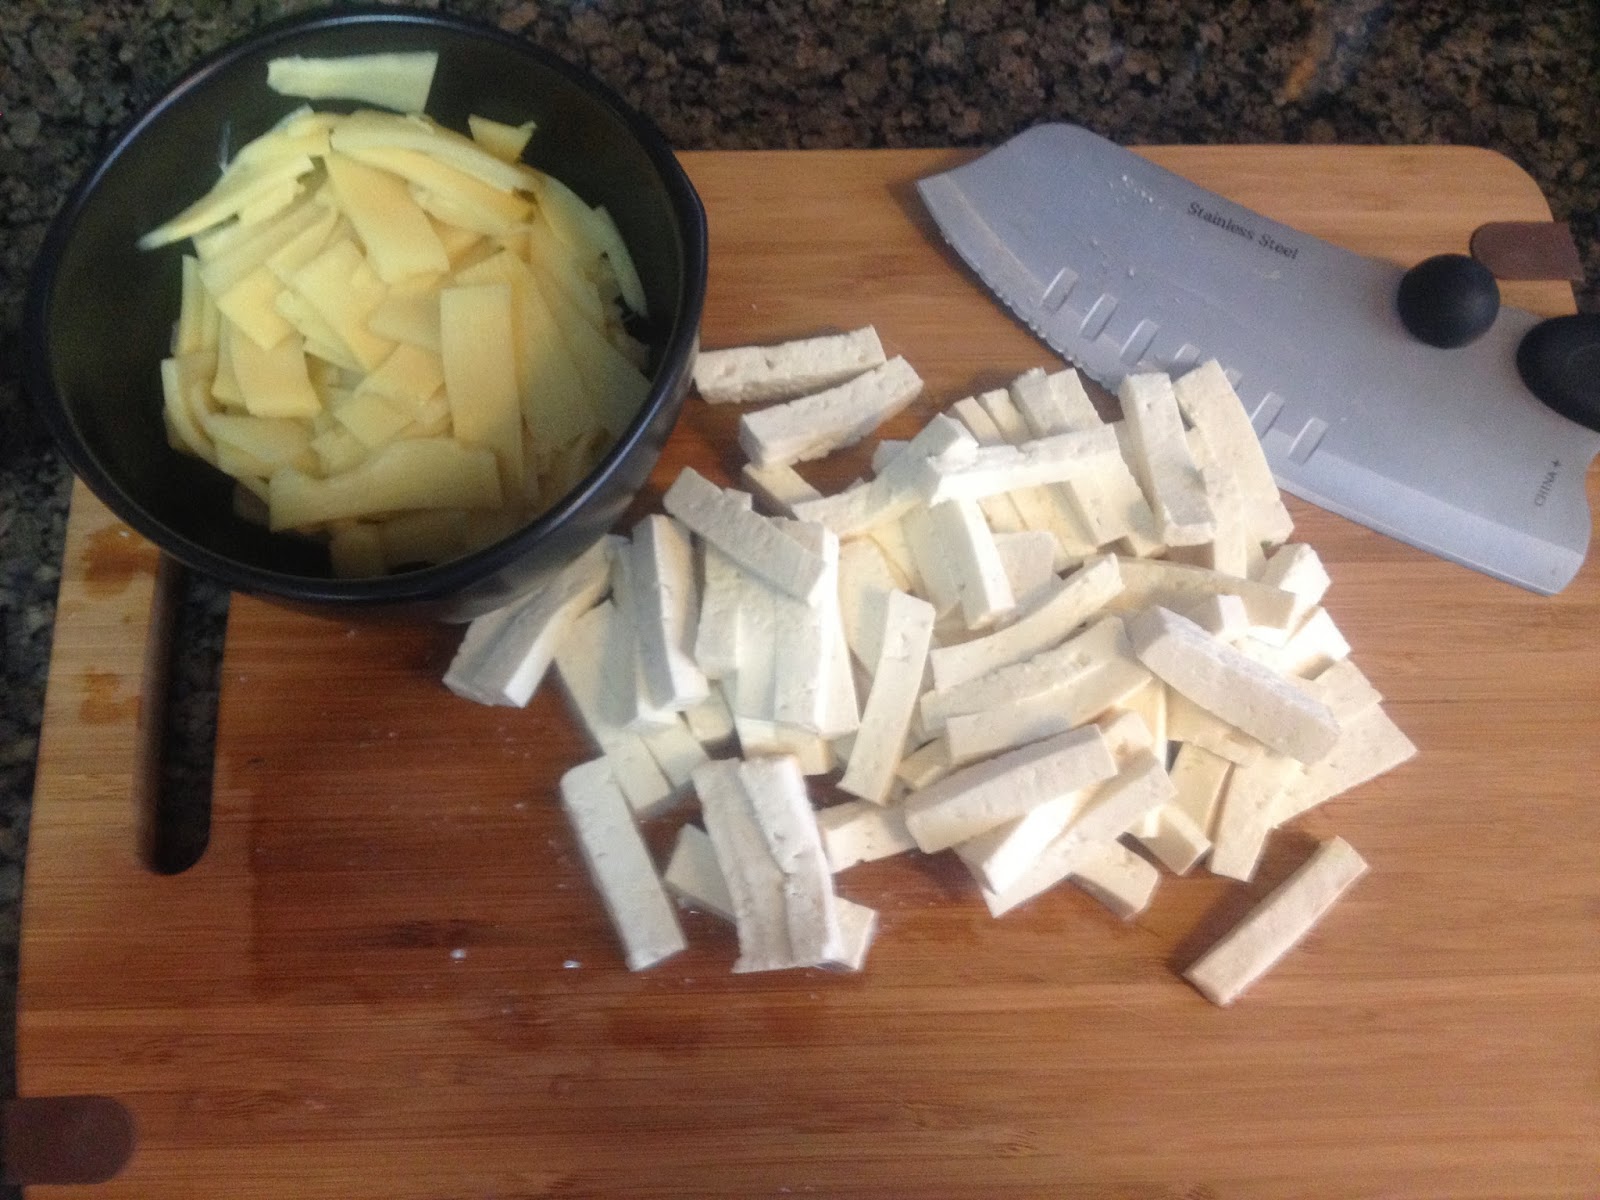
    227 ml can of sliced bamboo shoots, drained
    1/2 package Dried Black Trumpet Mushrooms ( about 2.5 ozs total)
    2 tsp dark sesame oil
    8 ozs boneless, skinless chicken breast cut into 2" thick strips *
    2 cups fresh mushrooms sliced (Cremini mushrooms are great for flavour)
    1/3 cup green onion, including tops, sliced
    2 1/2 cups chicken stock
    3 tbsp low sodium soy sauce
    2 tsp honey
    1 1/2 tbsp corn starch
    8 ounces firm tofu cut into 2" thin strips
    3 tbsp rice vinegar
    1/4-1/2 tsp hot red pepper sauce (to taste)
     
     
    Directions:

    In a small saucepan, bring 1 cup of the water to a boil. Place the bamboo shoots in a small heatproof bowl and pour 1/2 cup of the boiling water over them; let soak for 5 minutes then drain. Add the dried mushrooms to the water to the water remaining in the saucepan and let soak for 15 minutes.


    Both of these products were purchased at Longos, use whatever dried mushrooms you like, be creative!
    Drain the mushrooms through a sieve, reserving the soaking liquid. I like to slice the mushrooms a bit since the texture can be a bit different for some palates.

    *In a large saucepan, heat the sesame oil over moderate heat. Add the chicken and saute for 4 minutes, or until no longer pink on the outside*

    Add the soaked mushrooms, mushroom liquid, fresh mushrooms, green onions, chicken stock, soy sauce and honey.

     
    Meanwhile, in a small bowl, mix the cornstarch with the remaining 1/4 cup of hot water. Stir the cornstarch mixture into the simmering soup and cook for 5 minutes. 

    Stir in the tofu, bamboo shoots, vinegar and red hot sauce to taste.


    Cook at a simmer until tofu is heated through, stirring occasionally.
     
       
      Ladle into a bowl and serve. I like to top with sliced scallions and chow mein noodles. Add a cup of green tea and you've got all the fixings to fight the chili days. I also throw in a little extra hot sauce!


      Bon Appetit!